
Winter Camping Hot Tent Setup: Your Complete 2026 Guide
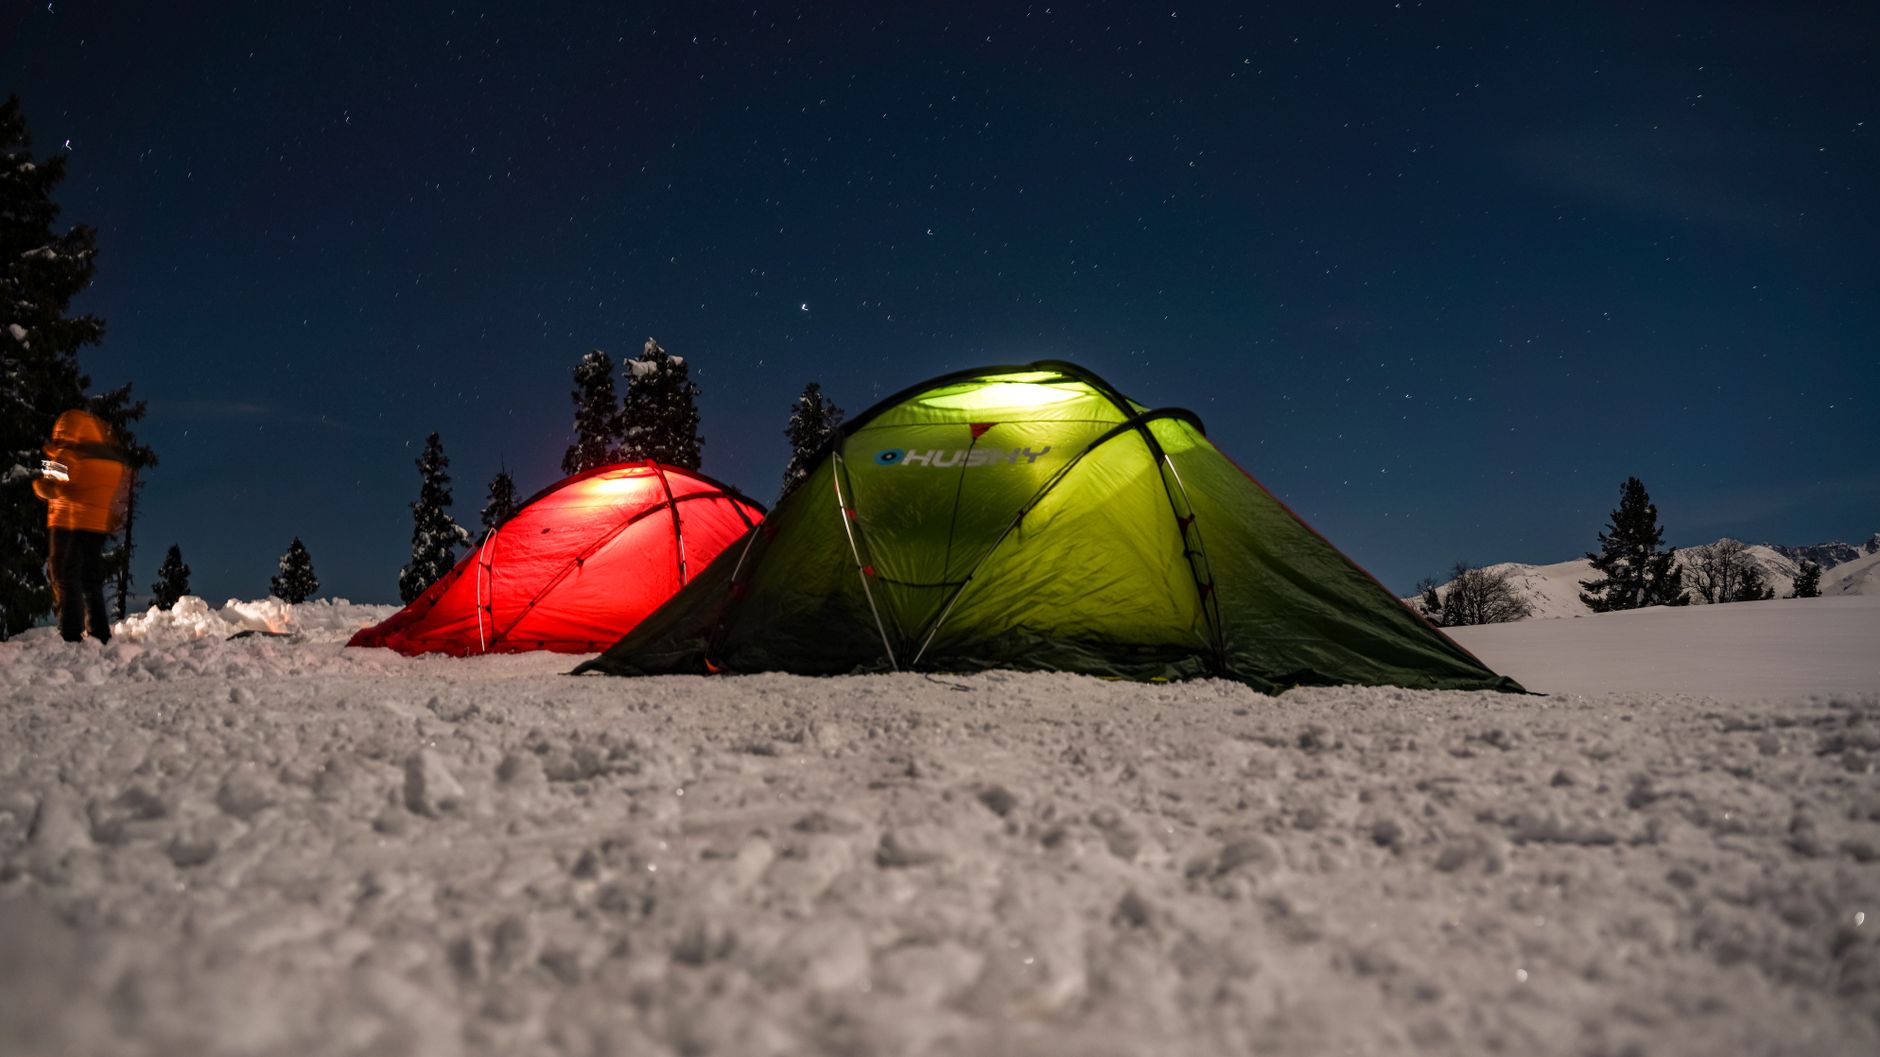
The first real cold snap of the season just swept through the Rockies, and my social feed is already flooded with two types of photos: pristine, glowing hot tents nestled in deep powder, and the inevitable “I almost burned my shelter down” confession posts. As more campers discover that winter doesn’t have to mean suffering in a cramped, freezing bivy sack, the winter camping hot tent setup has become the fastest-growing segment of backcountry gear—and the most misunderstood.
Here’s the reality: a hot tent isn’t just a regular tent with a stove shoved inside. It’s a complete ecosystem that requires specific site selection, precise stove management, and a fundamental shift in how you think about shelter. Get it right, and you’re looking at 60-degree comfort while the mercury drops to minus 20 outside. Get it wrong, and you’re dealing with carbon monoxide scares, melted nylon, or a sleepless night shivering in a puddle of condensation.
This guide walks you through the exact process I’ve refined over eight seasons of winter camping in the Cascades and Canadian Rockies—from choosing your pitch to that critical first burn.
Choosing Your Site and Pitching the Tent
Your winter camping hot tent setup begins long before you unpack the stove. Unlike three-season camping where you might prioritize views, winter hot tenting demands strategic site selection based on safety and thermal efficiency.
Look for natural wind protection. A stand of dense evergreens or a rock outcropping can drop wind chill by 15-20 degrees and reduce fuel consumption by up to 30%. Avoid valley bottoms where cold air pools—you’ll wake up to frost on the inside of your tent walls even with the stove cranking.
Snow depth matters. You want at least 18 inches of consolidated snow for proper anchoring, but avoid areas with obvious avalanche terrain overhead. Check the slope angle with your inclinometer; anything over 30 degrees is a hard no.
When pitching, stomp out a platform slightly larger than your tent footprint. Let it sinter (harden) for 30 minutes while you organize gear. This creates a stable base that won’t melt unevenly under your stove. For the tent itself, orient the door away from prevailing winds—usually east or southeast in most North American winter ranges.
Pro tip: Pack your snow anchors (deadmen) differently than summer stakes. Bury stuff sacks filled with snow horizontally at least 12 inches deep, or use dedicated snow pickets. Standard tent stakes pull out of frozen snow like toothpicks.
Installing and Managing the Wood Stove
This is where most beginners make critical errors. Your stove isn’t just a heat source; it’s a fire hazard, a carbon monoxide producer, and a condensation generator all rolled into one titanium package.
The jack installation comes first. Before you light anything, ensure your stove jack (the heat-resistant port where the pipe exits) is properly sealed. Most modern hot tents use a silicone or fiberglass jack that requires you to cut the hole yourself. Cut it 1/4 inch smaller than your pipe diameter—the material stretches to create a gasket seal.
Assemble the stove outside the tent. Connect all pipe sections (usually 4-5 pieces of 2.5-inch diameter titanium or stainless steel) before bringing the unit inside. This prevents dropping hot coals on your floor later. The pipe should extend at least 18 inches above the tent peak, with a spark arrestor cap installed.
Create a fireproof base. Even with a stove mat, place your stove on a piece of plywood or a dedicated stove board. This distributes weight and prevents the legs from melting through the snow and tipping the unit—a surprisingly common cause of tent fires.
The first burn protocol: Start with a small, hot fire using dry softwood. You want to establish draft immediately. Open the air intake fully until the pipe warms up (about 10 minutes), then dampen down to your desired heat output. A properly drafted stove should pull smoke up and out without any backpuffing into the tent.
Managing Condensation and Ventilation
Here’s the dirty secret of hot tenting: you’ll wake up wet. Not from rain, but from your own breath and body heat hitting cold tent walls. In a single-wall hot tent, condensation management becomes a daily chore that can make or break your trip.
Ventilation is non-negotiable. Even at minus 30, you need airflow. Crack the door 2-3 inches and open the peak vent. Yes, you’re losing heat, but you’re preventing the interior from becoming a rainforest. Modern hot tents like the Seek Outside Cimarron or Luxe Megahorn include adjustable vents specifically for this balance.
The morning routine: Before you exit your sleeping bag, use a small camp towel to wipe down the interior walls. Start at the top and work down. This prevents ice buildup that will melt later and soak your gear. On multi-day trips, bring a dedicated “condensation towel” that stays outside your sleeping bag.
Cooking considerations: Never cook inside your hot tent unless it’s specifically designed with a cooking port and you have massive ventilation. Boiling water adds a pound of moisture to the air per liter. Instead, use your stove for heat only, and cook in a separate vestibule or outside.
Safety Systems and Emergency Protocols
A winter camping hot tent setup introduces risks that three-season campers never face. Carbon monoxide (CO) is odorless, colorless, and kills quickly in enclosed spaces. Fire spreads through nylon in seconds.
Install a CO detector. Not optional. Buy a battery-powered unit designed for RVs (they handle temperature swings better than household models) and mount it at head height near your sleeping area. Test it before every trip. If it alarms, get out immediately and ventilate the tent before investigating.
Fire safety protocol: Keep a 2-pound ABC fire extinguisher within arm’s reach of your sleeping bag. Know how to use it. Establish a “fire watch” rotation if camping with partners—someone stays awake until the stove burns down to coals. Never leave a roaring fire unattended, even for a bathroom break.
The melt-through scenario: If your stove tips or a coal escapes, you have approximately 8-12 seconds before the tent floor melts and the structure becomes compromised. Practice your emergency exit: unzip the door with one hand while grabbing your boots with the other. In winter, exposure kills faster than flames.
Spark arrestor maintenance: Check your pipe cap every 4-6 hours of burn time. Creosote buildup can clog the screen, causing smoke to backdraft into the tent. Carry a small wire brush to clean it during your morning routine.
Conclusion
Mastering the winter camping hot tent setup transforms winter from a season to endure into a season to embrace. There’s something profoundly satisfying about sipping coffee in a 65-degree shelter while a blizzard rages outside, knowing you’ve created a safe, warm microclimate through skill rather than luck.
Start with a single overnight trip close to the trailhead. Practice your stove assembly in the backyard first. Invest in quality safety equipment before you splurge on ultralight titanium upgrades. And remember: the goal isn’t just survival—it’s comfort that lets you actually enjoy the silence of a snow-covered forest.
The backcountry is waiting, and with the right hot tent knowledge, you’re no longer limited by the calendar. Stay warm, stay safe, and I’ll see you out there.