How to Read Topo Maps: The 2026 Guide Every Hiker Needs Before GPS Fails
Search and rescue teams across the U.S. are reporting a troubling trend this fall: a surge in hikers who followed a phone GPS straight into trouble, then had no backup plan when the battery died or the signal dropped. With record numbers of people hitting trails in 2026 and more agencies warning about over-reliance on apps, there’s never been a better time to learn how to read topo maps.
Here’s the thing — a topographic map never runs out of battery, never loses signal, and shows you things no app screenshot can: the actual shape of the land. Once you understand how to read topo maps, you unlock a completely different level of backcountry confidence. You’ll spot the hidden cliff bands, find the gentle ridge routes, and know exactly why that “shortcut” on your phone is a terrible idea.
This guide breaks it all down in plain English, with the exact techniques I use when planning off-trail routes.
What Makes a Topo Map Different (And Why It Matters)
A regular map tells you where things are. A topographic map tells you what the land is doing.
The magic is in contour lines — those squiggly brown lines covering the map. Each one connects points of equal elevation. On a standard USGS 7.5-minute quadrangle map, the contour interval is typically 40 feet, meaning each line represents a 40-foot step up or down from its neighbor.
Why should you care? Because terrain dictates everything in the backcountry:
- Tightly packed contour lines = steep terrain, possibly cliffs
- Widely spaced lines = gentle, walkable slopes
- V-shaped lines pointing uphill = drainages, gullies, or stream beds
- V-shaped lines pointing downhill = ridges and spurs
- Concentric circles = hilltops or depressions (check for hachure marks — small tick marks on the inside of the circle indicate a depression)
Every fifth contour line is usually printed thicker — these are index contours, and they carry elevation numbers. Use them as your anchor points when counting lines.
How to Read Topo Maps: Decoding Contour Lines Like a Pro
This is the core skill, and it’s easier than most people think. When I teach beginners how to read topo maps, I use the “fist analogy”: make a fist, and look at your knuckles. The bumps are ridges, the valleys between your fingers are drainages, and the steep sides of your hand are like tightly packed contours.
Now apply that to the map:
Reading slope steepness: Pick two points on the map. If you cross 10 contour lines in a quarter inch, that’s 400 feet of elevation gain over roughly a quarter mile — brutally steep. If you cross 2 lines in that same distance, you’re looking at a pleasant stroll.
Identifying terrain features:
- Saddles look like hourglasses — two high points with a low spot between them. These are your natural pass crossings.
- Bowls and cirques show up as nested U-shaped contours, often with a lake at the bottom.
- Cliff bands appear where contour lines merge into a single thick line or nearly touch.
A practical exercise: Before your next hike, pull up a free topo map of the area on the USGS National Map viewer or CalTopo. Trace a route with your finger and predict what the terrain will look like. Then hike it and compare. Do this three or four times and your brain will start “seeing” the terrain in 3D automatically.
The Map Symbols and Colors You Actually Need to Know
Topo maps are dense with information, but you only need a handful of symbols for backcountry navigation:
- Blue lines and shapes: Water — streams, rivers, lakes, marshes. Solid blue means year-round water; dashed blue means intermittent (seasonal). This is critical for water planning.
- Green shading: Vegetation, usually forest. White areas on USGS maps are typically open — meadows, rock, or alpine terrain above treeline.
- Black lines: Human-made features — trails, roads, buildings, boundaries.
- Red lines: Major roads and survey lines (township and range).
- Brown lines: Contours (your elevation data).
Pro tip: Always check the map’s legend and publication date. A map printed in 1987 may show trails that no longer exist or miss new logging roads. The USGS has been steadily updating quads, and the 2024-2026 US Topo series includes current trail data from the Forest Service and National Park Service — grab the newest version available.
Orienting Your Map and Finding Yourself in the Field
Knowing how to read topo maps at your kitchen table is one thing. Doing it on a windswept ridge is another. Here’s the field process:
Step 1: Orient the map. Use a baseplate compass to align the map’s north arrow with magnetic north. Don’t forget declination — the difference between magnetic north and true north. In the western U.S., this can be 15+ degrees east; in the east, it can be 15+ degrees west. Your map’s margin shows the local declination. Adjust your compass accordingly or you’ll walk in the wrong direction with total confidence.
Step 2: Identify your location. Look around you. What terrain features do you see? A stream junction to the east? A prominent peak to the north? Find those features on the map. Where they intersect with your known route — that’s where you are.
Step 3: Use handrails and catch features. A “handrail” is a linear feature you can follow — a ridge, a stream, a trail. A “catch feature” is something that tells you you’ve gone too far — a road, a major creek, a sharp drop in elevation. Before you start walking, identify both on your map. This is how experienced navigators move fast without constantly stopping to check position.
Step 4: Estimate travel time with Naismith’s Rule. Allow 30 minutes per mile on flat terrain, plus 30 minutes for every 1,000 feet of elevation gain. A 6-mile route with 2,000 feet of gain? Budget about 4 hours. Adjust for your fitness, pack weight, and terrain difficulty.
Digital Topo Maps: The Best of Both Worlds
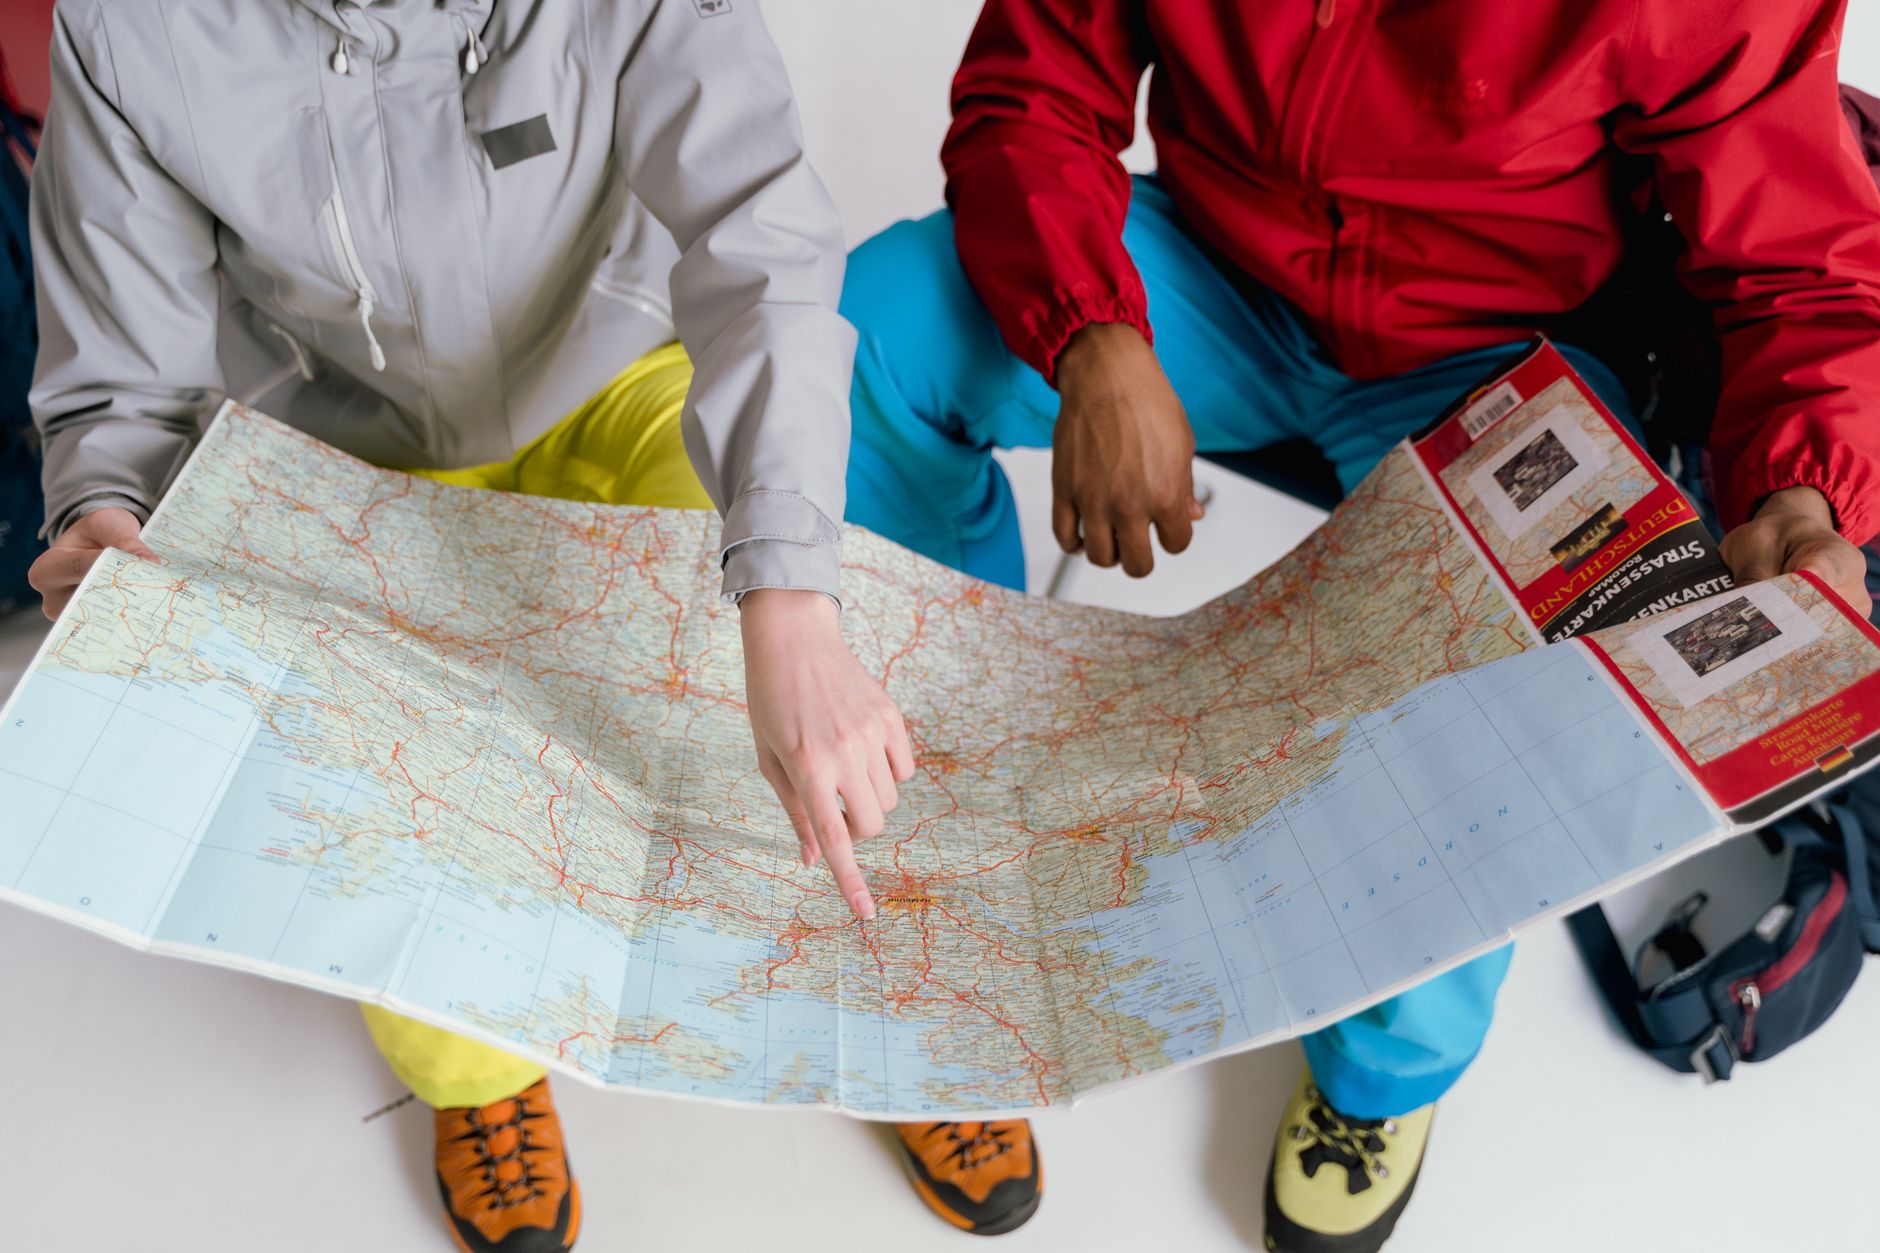
I’m not anti-technology — far from it. The smartest approach in 2026 is using digital topo maps as your primary tool with a paper map and compass as backup.
Apps like CalTopo, Gaia GPS, and onX Backcountry let you layer slope angle shading (essential for avalanche terrain in winter), satellite imagery, and public land boundaries on top of USGS topo data. You can plan routes at home, print custom maps, and carry the same data offline on your phone.
But here’s the non-negotiable part: always carry a printed map and compass, and know how to use them. Print your route on waterproof paper (National Geographic’s Adventure Paper or similar), keep it in a zip-lock bag, and practice with it before you need it. The 2025 season saw multiple rescues in the Cascades and White Mountains where hikers had dead phones and no map — don’t be that statistic.
Your Next Step: Practice Before You Need It
Learning how to read topo maps isn’t a weekend project — it’s a skill that builds with reps. Start small. Pick a local trail you already know well, bring a topo map of the area, and practice matching what you see on the ground to what’s on the map. Graduate to off-trail navigation in familiar terrain. Then test yourself in new country.
The backcountry rewards those who prepare. A $15 paper map and a $30 compass weigh almost nothing, never need charging, and might just save your life. But more than that, they transform you from someone who follows trails into someone who truly understands the landscape — and that’s when the real adventures begin.