
How to Hang a Bear Bag Properly: The 2026 PCT Method Every Backpacker Needs
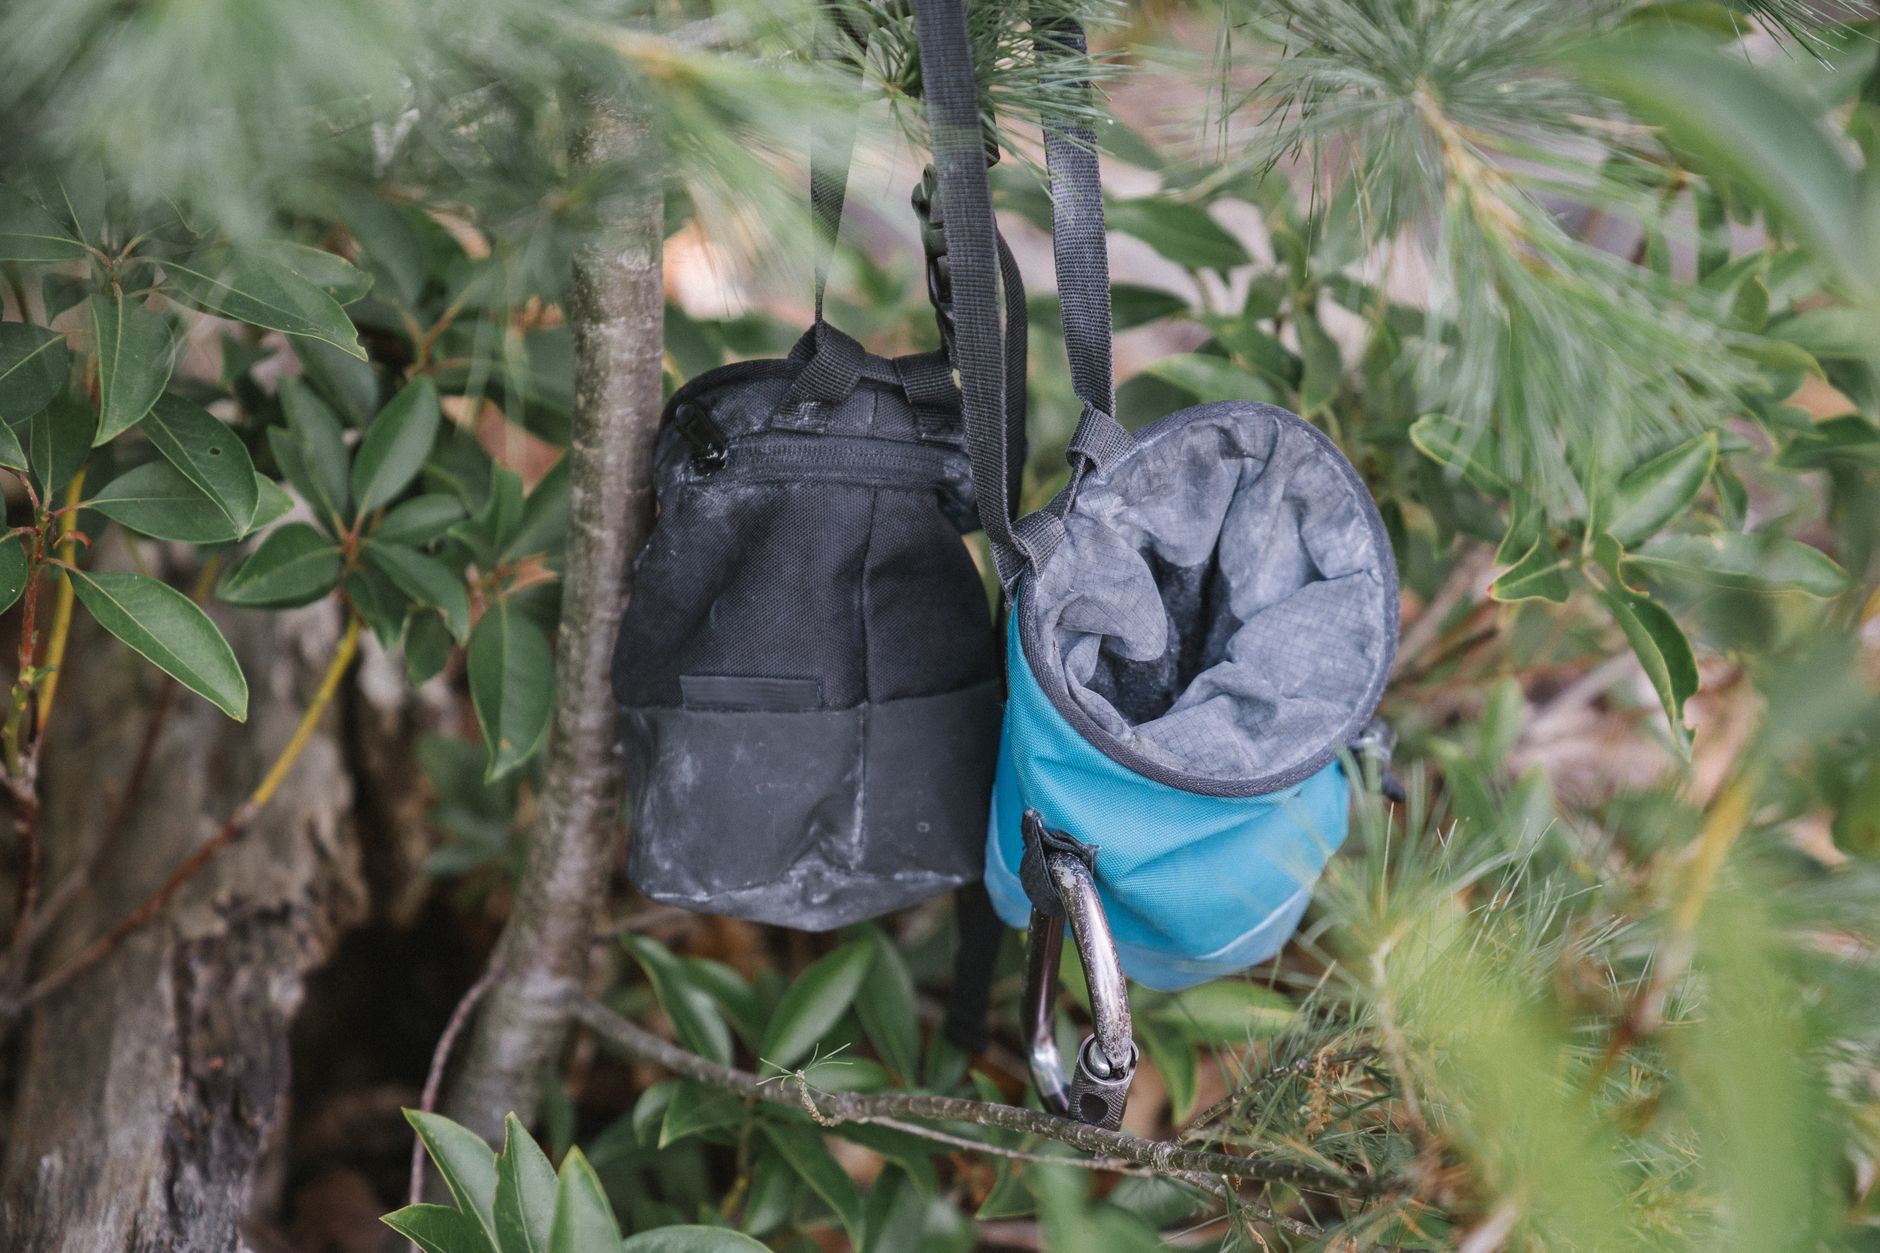
With bear-human encounters up 47% across Western national parks in 2026—and Yosemite recently implementing stricter backcountry food storage fines—knowing how to hang a bear bag properly has never been more critical. Whether you’re weekend warrior or thru-hiking the John Muir Trail, the outdated “toss it over a branch and hope” approach isn’t cutting it anymore. Rangers are writing tickets, and more importantly, habituated bears are getting euthanized.
The Pacific Crest Trail method, refined by long-distance hikers over thousands of miles, is now the gold standard for bear bag hanging. It’s not the easiest technique to learn, but it’s the most reliable when canisters aren’t required or when you need to save weight on extended trips. Here’s exactly how to execute it like a seasoned trail veteran.
Why the PCT Method Beats the Old Two-Tree System
Most beginners learn the basic two-tree hang: throw a rope over a branch, tie off to another tree, and call it good. The problem? Bears have figured this out. Black bears in the Sierra Nevada have become adept at climbing out to the branch, chewing through cord, or simply swiping the bag from below with a well-placed paw.
The PCT method solves these vulnerabilities through physics, not brute force. By suspending your food bag from a single high point with a retrieval line that runs down to the ground, you create a system where the bag sits at least 12 feet high and 6 feet from the trunk—but the retrieval cord itself hangs away from the tree, making it nearly impossible for bears to access.
Here’s what makes it distinct: instead of tying off to a second tree, you use a small carabiner or stick toggle to secure the retrieval line, then release it entirely from the ground when you need your food. No persistent rope bridge between trees means no easy climb path for clever bears.
Essential Gear: What Actually Works in 2026
You don’t need much, but what you choose matters. The 2026 thru-hiking community has largely moved away from standard paracord in favor of lighter, stronger alternatives.
Your bear bag kit should include:
- Cordage: 50 feet of 1.5mm Dyneema or Spectra cord (stronger than paracord, half the weight, roughly 1,200 lb test)
- Storage sack: 10-13 liter waterproof roll-top bag—Opsak odor-barrier bags nested inside add significant protection
- Carabiner: One small non-locking biner (8-12 grams) for the pulley system
- Rock sack: A small stuff sack with a rock tied inside for your throw weight—many hikers now use a dedicated Gossamer Gear or Hilltop Packs ultralight throw bag
Weight reality check: A complete PCT bear bag system weighs 4-6 ounces. A standard BearVault BV500 canister weighs 41 ounces. On a 2,000-mile thru-hike, that difference saves you roughly 2.5 pounds of carried weight—worth the 10-minute nightly ritual for many hikers.
One critical 2026 update: several popular bear canister models have seen supply chain delays, making rope-hang skills even more valuable as backup knowledge.
Step-by-Step: How to Hang a Bear Bag Properly Using the PCT Method
Step 1: Site selection (this is where most people fail)
Walk at least 200 feet from your tent—downwind if possible. Find a live tree with a sturdy horizontal branch 15-20 feet high. The branch should be roughly 1.5-2 inches in diameter: thick enough to hold weight, thin enough that a bear can’t climb out to it. Avoid dead trees (they break) and obvious bear paths.
Step 2: Deploy your throw line
Load your rock sack and tie it to one end of your cord. Throw it over the target branch so the rock falls to the ground on the far side. This takes practice—most hikers need 10-20 attempts when learning. Pro tip: underhand throws often work better than overhand for accuracy.
Step 3: Rig the pulley system
Untie the rock sack. Tie your food bag to the end of the cord that went over the branch. Clip your carabiner to the same end, then thread the other end of the cord (the retrieval line) through the carabiner. You now have a 2:1 mechanical advantage system.
Step 4: Hoist and secure
Pull the retrieval line to raise your food bag. When it’s 12+ feet high and 6+ feet from the trunk, tie a stick toggle (pencil-thick, 6 inches long) into the retrieval line using a clove hitch. Let the toggle jam against the carabiner, locking the system in place.
Step 5: Hide the retrieval line
The retrieval line now hangs down from the carabiner. Tie it off to a nearby tree at ground level—but not to the same tree holding your food. This keeps the line accessible to you but not climbable by bears. Some hikers let it hang free with the toggle weighting it down; others tie it loosely to a second tree 10 feet away.
Common Failures and How to Avoid Them
Even experienced hikers make these mistakes. I’ve watched three separate bags get raided on group trips because of preventable errors.
The “pendulum problem”: If your branch isn’t horizontal enough, the bag swings back to the trunk when you pull the retrieval line. Solution: add a second stick toggle on the hoist cord to jam against the branch itself, preventing sideways movement.
The midnight tangle: Dyneema cord kinks and tangles in cold weather. Flake your cord neatly before each use, and avoid stuffing it loose into your pack. Many 2026 hikers now use LineLoc tensioners or small cord organizers.
The “good enough” height: Twelve feet means twelve feet, not ten. Bears standing on hind legs reach higher than you think. Use your trekking pole to verify height if you’re unsure—most poles extend to 52-54 inches, so two pole-lengths plus your reach should approximate 12 feet.
Odor management blind spots: Hanging technique doesn’t matter if you stored bacon grease in your pot. Double-bag all food, and consider adding a small piece of pine branch or activated charcoal to your Opsak for odor absorption. The 2026 season has seen increased ranger emphasis on this—poor odor control now carries separate warnings in some parks.
When Bear Bags Don’t Cut It: Know the Regulations
Here’s the reality: how to hang a bear bag properly is essential knowledge, but it’s not always legal knowledge. As of 2026, these areas require hard-sided canisters regardless of your rope skills:
- Yosemite National Park (entire backcountry)
- Sequoia-Kings Canyon (above 10,000 feet and specific zones)
- Adirondack High Peaks (New York, all sites)
- Rocky Mountain National Park (specific campsites)
- Parts of the Appalachian Trail in Georgia during spring bear activity
Always check current regulations before your trip. The Interagency Grizzly Bear Committee and individual park websites update requirements seasonally. A properly hung bear bag in a canister-mandatory zone still earns you a $150+ fine and potential trip termination.
For grizzly country—Montana, Wyoming, Alaska—the PCT method is generally considered insufficient. Grizzlies are more destructive, more persistent, and significantly more dangerous when food-conditioned. Use IGBC-approved canisters or electric fence systems in these areas.
The Bottom Line on Backcountry Food Safety
Learning how to hang a bear bag properly isn’t just about protecting your Snickers bars. It’s about keeping wild bears wild, keeping yourself safe, and maintaining backcountry access for everyone. With 2026’s increased enforcement and rising bear populations, the margin for sloppy technique has disappeared.
The PCT method takes 15-20 minutes when you’re learning, 5-8 minutes once practiced. That’s a small investment for nights of secure sleep and the confidence that your breakfast will still exist at 6 AM. Master this skill before your next trip—not when you’re exhausted, in the dark, with a hungry black bear circling your campsite.
Practice in your backyard. Time yourself. Get the muscle memory down. Because in bear country, your food storage system isn’t just gear—it’s the difference between a legendary trip and a cautionary tale.