
Hammock Camping Setup for Beginners: Your First Night Between the Trees (2026 Guide)
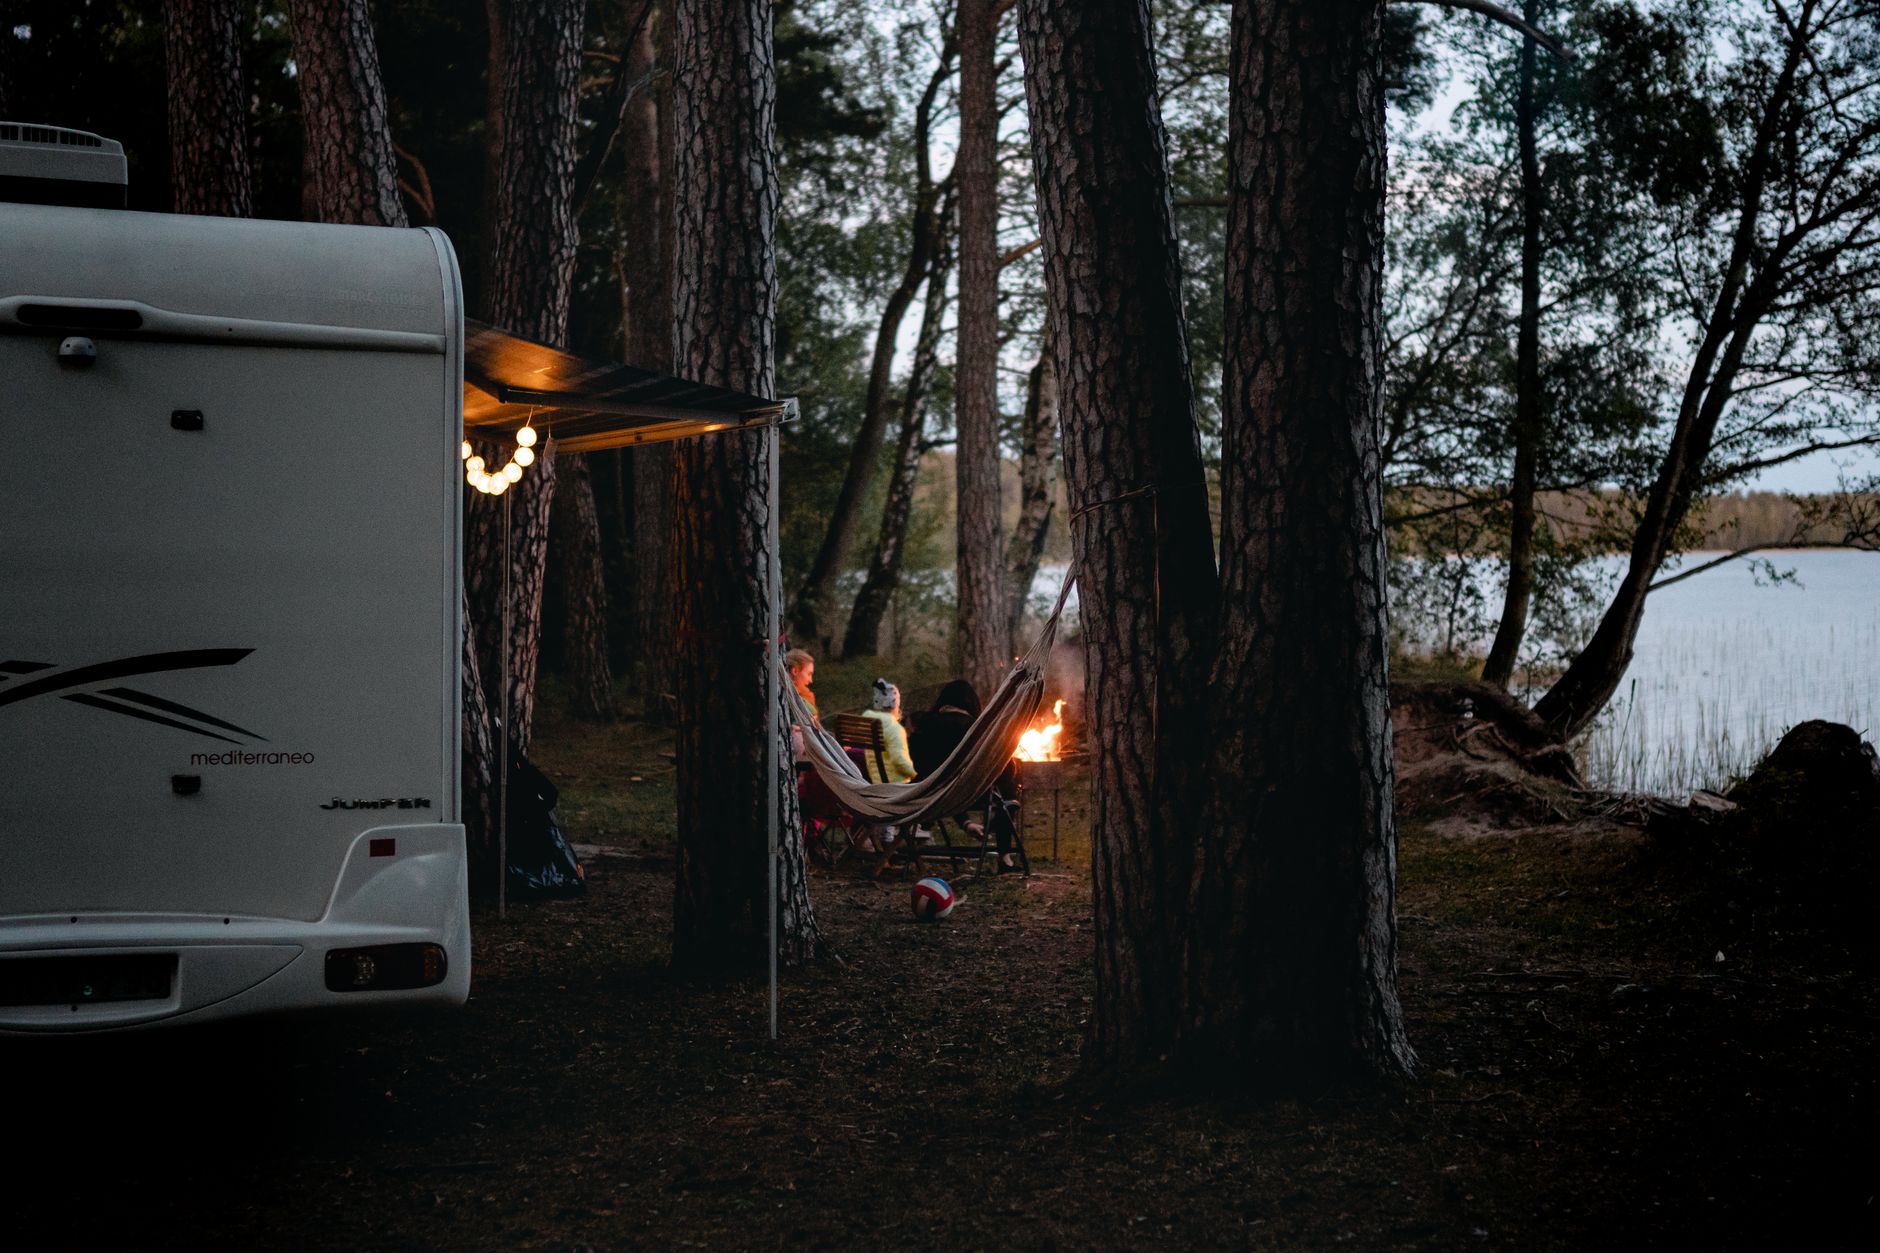
If you’ve scrolled through any outdoor feed this fall, you’ve noticed something: the “tent vs. hammock” debate has officially tipped. With the 2026 outdoor season seeing a massive surge in “tree camping”—driven by ultralight gear innovations and a collective desire to leave fewer traces on the forest floor—more beginners are ditching the ground for the canopy. But here’s the reality check: a poorly rigged hammock is a miserable, cold, and potentially dangerous place to spend the night.
This guide breaks down the hammock camping setup for beginners into a foolproof system. We’re not just talking about stringing a line between two oaks; we’re talking about building a floating shelter that rivals your bed at home. Whether you’re planning a weekend in the Appalachians or testing your backyard, this is your blueprint for getting it right on the first try.
Why 2026 Is the Year to Switch to Hammocks
The outdoor industry has quietly revolutionized hammock tech in the last 18 months. We’re seeing integrated bug nets that weigh less than your phone, underquilts rated to 15°F that pack to the size of a grapefruit, and suspension systems that adjust in seconds without knots.
More importantly, land managers are increasingly encouraging hammock use in high-impact areas. Unlike tents, which compress soil and damage root systems, a properly hung hammock leaves zero trace. With many popular campsites now requiring “no-ground-impact” practices, knowing how to hang is becoming an essential wilderness skill—not just a niche hobby.
The Core Four: Gear You Actually Need
Forget the 47-item checklists. A bombproof hammock camping setup for beginners requires exactly four components working in harmony.
1. The Hammock Body Look for a gathered-end hammock (not a spreader bar) made from 70D nylon or hexon fabric. Length matters more than width: you need 10-11 feet for a proper diagonal lay. Anything shorter forces you into a “banana” position that wrecks your back. Brands like Dutchware and Dream Hammock now offer sub-$100 complete setups specifically designed for beginners—skip the $20 Amazon special; the fabric stretch will leave you on the ground by 2 AM.
2. Suspension System Ditch the rope. You need tree straps (1-inch wide polyester or dyneema) to protect bark, paired with either cinch buckles or whoopie slings. The 2026 standard is the “Becket hitch”—a knotless system that uses the strap itself to create a secure anchor. It takes 30 seconds to adjust and won’t slip, even in rain.
3. Insulation (The Game-Changer) Here’s where most beginners fail. Your sleeping bag compresses under your weight, leaving your back exposed to convective heat loss. You have two options:
- Underquilt: A down or synthetic quilt that hangs beneath you (temperature rating should match your expected lows)
- Sleeping Pad: An inflatable pad inside the hammock (adds stability but can feel like sleeping on a pool float)
For three-season camping, an underquilt rated 10°F lower than your expected nighttime temperature is non-negotiable. Even summer nights drop below 70°F, and that’s when “cold butt syndrome” strikes.
4. Rain Protection Your tarp needs a 30-degree angle on the sides and should extend 8-12 inches past your hammock ends. Hex tarps offer the best coverage-to-weight ratio for beginners. In 2026, silpoly (silicone-impregnated polyester) has largely replaced silnylon for entry-level setups because it doesn’t sag when wet—a common frustration that used to soak beginners’ gear.
The Perfect Hang: Angles, Height, and the “Ridgeline Rule”
This is where physics meets comfort. Get these numbers wrong, and you’ll wake up with calf ridges and a sore neck.
The 30-Degree Rule: Your suspension straps should form a 30-degree angle from horizontal. Too steep (45+ degrees), and you put dangerous stress on the trees and your gear. Too shallow (15 degrees), and you’ll bottom out. Use a ridgeline organizer or simply eyeball it: if your strap looks like a steep slide, tighten it up.
Ridgeline Consistency: Install a structural ridgeline (a cord connecting both ends of the hammock) set to 83% of your hammock’s length. For an 11-foot hammock, that’s roughly 9 feet. This ensures you get the same sag every time, regardless of tree distance. It also gives you a place to hang your headlamp and glasses.
The Sit Test: Before adding your insulation, sit in the hammock. Your feet should touch the ground when sitting—this is your safety check. If you’re hanging higher than 18 inches, lower it. Falls from even 3 feet can injure you on uneven terrain.
Diagonal Lay: Don’t lie straight down the center. Shift your body 15-20 degrees off-center. This flattens the fabric and eliminates the “shoulder squeeze” that ruins most first attempts.
Weatherproofing and Site Selection
Tree Selection: Look for living trees 12-15 feet apart, at least 6 inches in diameter (the size of your thigh). Shake the trunk—if the canopy moves more than the base, walk away. Dead trees (“widowmakers”) kill campers every season; check for mushroom growth, leaning, or bark slippage.
The “Hang High” Myth: Beginners often string their hammocks 6 feet up to avoid wildlife. Don’t. You want the lowest safe hang possible—ideally 18 inches off the ground. This makes entry/exit easier and reduces injury risk if you roll out. Use your underquilt and top quilt for warmth, not height for safety.
Drip Lines: Even with a perfect tarp, water runs down your suspension straps. Tie “drip lines” (simple cord loops) on your straps just inside the tarp edges. This breaks the water’s surface tension and keeps you dry during 2026’s increasingly unpredictable rain patterns.
Wind Orientation: Position your tarp’s long side perpendicular to the prevailing wind. If storms are forecast, drop the windward side to “storm mode”—stake it directly to the ground. Modern tarps with doors (like the Hammock Gear Journey) create a full weather cocoon that handles 40+ mph gusts when pitched correctly.
Your First Night: A Step-by-Step Timeline
4:00 PM – Site Selection: Arrive with 2 hours of daylight. Find your trees, check for hazards overhead, and clear the ground of sharp objects (you’ll be stepping out barefoot at night).
4:30 PM – Hang the Hammock: Set your straps at eye level (about 5 feet up the tree). Attach the hammock using your chosen suspension. Install the ridgeline.
4:45 PM – The Sit Test: Sit gently. Adjust strap height until your feet touch the ground comfortably. Check your 30-degree angle.
5:00 PM – Insulation: Attach your underquilt snugly against the hammock bottom—no gaps. If using a pad, inflate it 80% and wedge it into the hammock’s foot box.
5:15 PM – Tarp Deployment: String the tarp over the ridgeline. Stake out the corners at 45-degree angles. Ensure the tarp’s ridge is 6-12 inches above your hammock ridgeline for ventilation.
5:30 PM – The Overnight Test: Lie down for 15 minutes. Adjust the underquilt if you feel cold spots. Practice reaching your water bottle and headlamp without sitting up.
Conclusion: Elevate Your Camping Game
Mastering the hammock camping setup for beginners isn’t about buying the most expensive gear—it’s about understanding the geometry of comfort. Once you nail that 30-degree hang and dial in your insulation, you’ll wonder why you ever slept on roots and rocks.
Start in your backyard this weekend. Test your setup in the rain. Dial in your underquilt before you hit the trail. The trees are waiting, and with the 2026 gear innovations making hammocks lighter and more forgiving than ever, there’s never been a better time to leave the tent behind. Your back—and the forest floor—will thank you.